Digital is great. I love creating without hardly any mess and, of course, the undo button. But there is something special when I finally print out a project I've been working on. So, for my daughter's 3rd birthday party, I designed up a cute little invitation to take around to her close friends.

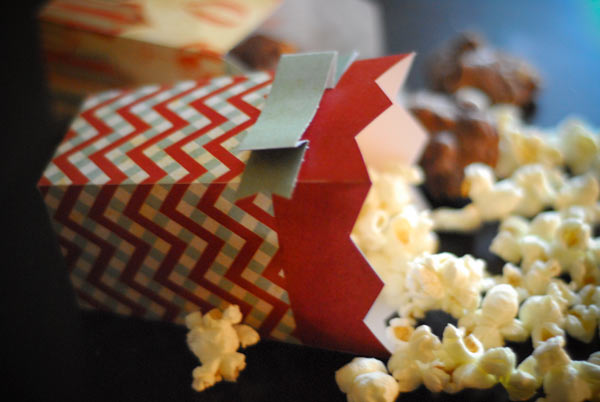
I was trying to decide on only one theme for the party, and decided that I just couldn't narrow it down, so I ended up coming up with more of a color theme - red, pink and a light blue. Once I had that figured out it was easy to design up some cute invitations, as well as dress up the favor boxes (which I will blog about later...). It is so fun to have such a cute custom little accent for a party! Its all in the details!
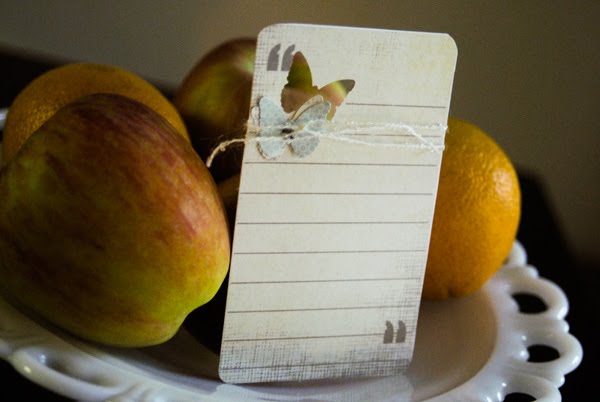
Since I didn't want huge 5"x7" invitations, I opted to pull out some little sheer glassine favor bags to use as envelopes (we were hand delivering all the invitations). I then sized my invitation to fit into the favor bags, printed a coordinating accent digital paper out onto sticker paper and made a cute little faux tape to seal the envelope.

...and now that all is said and done... the party was a success! And I am excited to share it with you, but that blog post, is for another time!
Have a wonderful weekend!


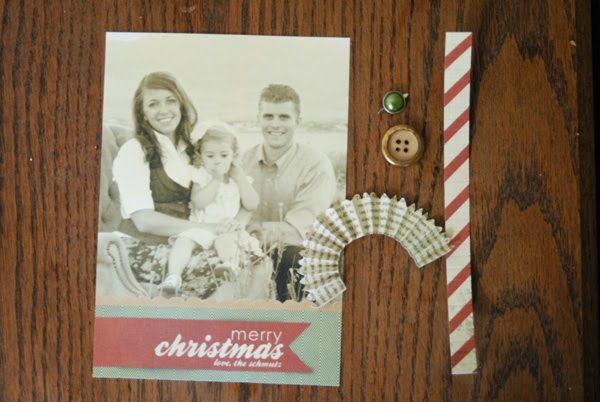 So, this is the first year that I am actually going to do holiday cards. Before this year, we have been close enough to all of our family that we always were able to see them all during the holiday break. We've decided this year that we aren't going home for christmas, so one of the perks to staying is that I get to make a bunch of cards! It really is fun, isn't it?
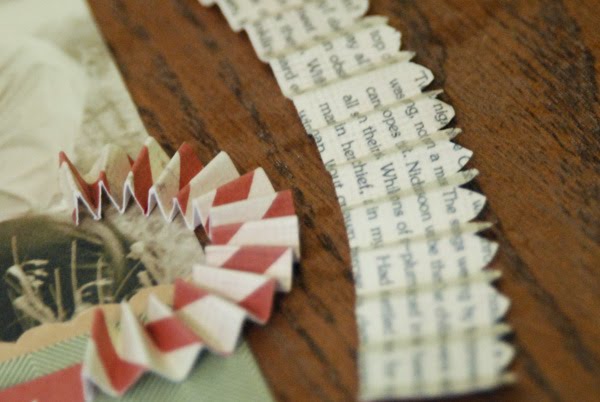


 ...my favorite blogs, I ran into
  I think using paper in the background was easier than fabric. It was super easy... 1st - measured the frame I wanted to use, 2nd - designed up a calendar in photoshop (or elements), 3rd- printed, 4th..5th..6th..7th - cleaned glass in frame, cut out paper, put frame back together, doodled with dry erase makers. pretty simple.
 It was a very fun, cheap
  The weather is saying it is not summer, but I feel the tingling in my bones. Its like christmas for me. I.love.summer..
 This is my first attempt at making a hybrid-chipboard-mini-album.. whoo.. that was a lot. But, I think it ended up being perfect.. and very fun to make! I highly recommend it.. especially if you end up staying up until the wee hours of the night to finish it.. it is so.much.more.fun..
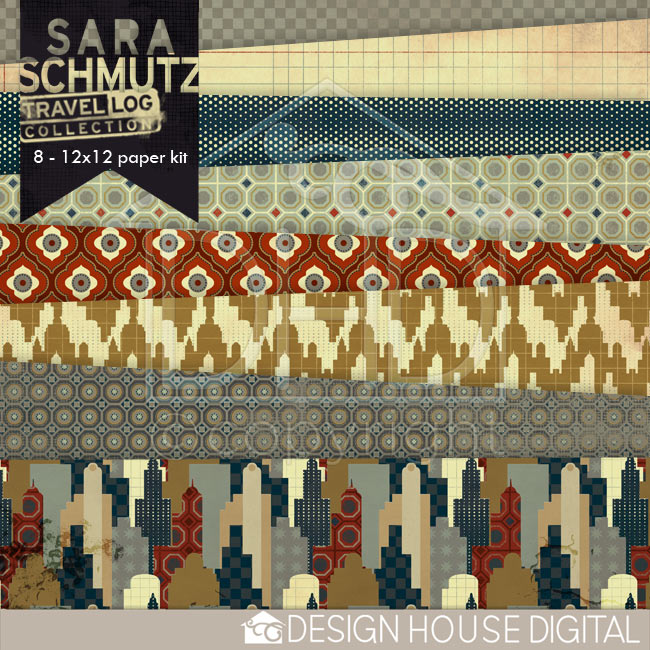
 I had a bunch of pictures from when my family came to visit us (a couple weeks ago) and they matched perfectly with my new kit
 I, once again, did most of the work on the computer. Laying out my pages, even figuring out what accents would go were. I was then able to easily print the layouts out on a page and the 3d accents out on another.
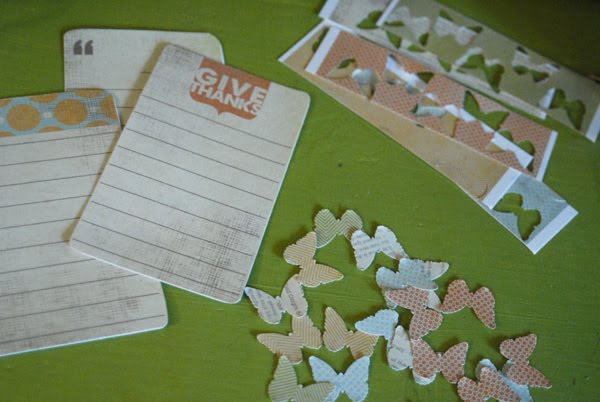
 I did have to do a lot of cutting (since I don't have any sorts of die-cutting machine.. but I am in the market...) but most of the shapes were pretty boxy, except for the flowers.
 I had planned on only have one spread for each day of the vacation, but when I came to the second day I found that I had a lot more pictures that I wanted to include. (we had actually ended up doing a lot of fun things that day, and I wanted to highlight every event) So I, cleverly.. hehe.. came up with the idea of having just a paper insert full of photos. The journalling still went on the chipboard layout, but this was an easy way to add more photos without having to go buy more chipboard.
 I tried to come up with a lot of different ways I could add some 3d feel.. without it looking like I just did the same thing over and over. So I accented by mounting some embellishments on extra chipboard, I puffed some up with foam squares, I added ribbon, paper flowers, paper tags, twine, and a fabric brad. Over all I think every page is unique, but also coordinating..


 I have been asked how is it I make these flowers that I so love to do. It is quite simple, and simply, quite fun!
 You can use any size paper, but for the flowers above I used strips that were 1/2"x5". To begin, you can do some of your distressing by inking edges, crumbling up the paper to give it more wrinkles
  You then proceed to pinch the "accordion" fold the paper. It depends on the size of your paper, and the size of the flower you want in the end. I wish I had the mathematical equation laid out for each size of flower, but it is really just eyeballing most of it.
 ...I still feel like I am on weekend mode. And I really do not want to clean my house.. ugh. right? I dislike mondays for that reason. So, to distract my pity.filled.soul, I decided to scrap up a hybrid with my new
  well, I guess the crafty project helped with my depressed.because.its.monday.mood... so on to scrubbing some floors and folding some laundry!
 so, I know that there are a few dozen different meanings when I through the word "hybrid" out. I could be talking about a hybrid car, electronic, etc, etc, etc...